Looking for something more specific?
- Brushes - This guide explains what brushes are and how they are applied to layers.
- Effects - This guide explains what effects are and how they are applied to layers.
- Adaption hints - This guide explains what adaption hints are and how they help sharing profiles.
Alternatively, head back to the guide overview on the getting started page.
¶ Introduction
Layers comprise the backbone of Artemis. Every lighting effect in Artemis is caused by a layer of one kind or another. This guide will teach you the basics of the layer system. This guide is currently a work in progress!
¶ Layers and folders
Inside a profile you can create layers that display certain effects or colors on a selection of LEDs of your choice. This can be any amount of LEDs, an entire device of even every device in the surface.
You can organize your layers into folders. This is especially helpful when creating large profiles, you can close a folder to hide all the children and keep an overview of your profile structure.
¶ Brushes
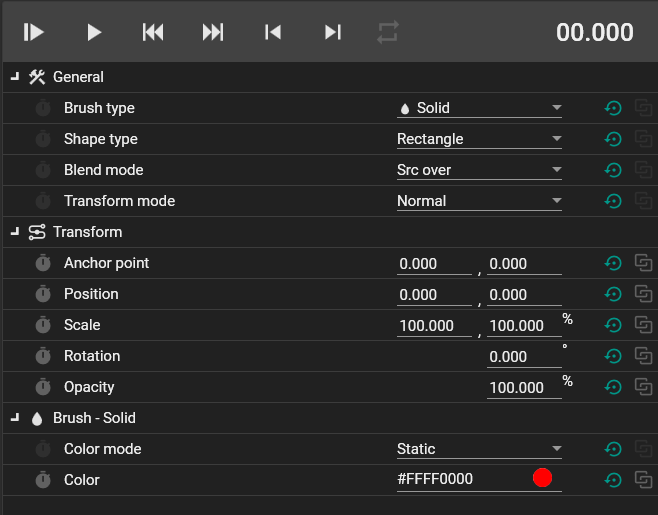
Every layer in Artemis has a brush. Brushes specify how a layer should generally behave, but also provide lots of options for you to change how you like. The default brush is the Solid Color brush, which as the name suggests, provides an area (either a rectangle or an ellipse) that is colored a certain color. Properies such as color, scale, width, opacity, and more can be found in the bottom left area of the profile editor (shown below).

Any of these properties can be manually changed to modify the layer. The General and Transform sections are enabled for every brush, but the properties shown in the brush section depend on the brush. Here we see that the Solid Color Brush has only two properties: the Color Mode, and the Color. You can change the color by manually editing the hex code or clicking the color circle to open the color picker.
¶ Effects
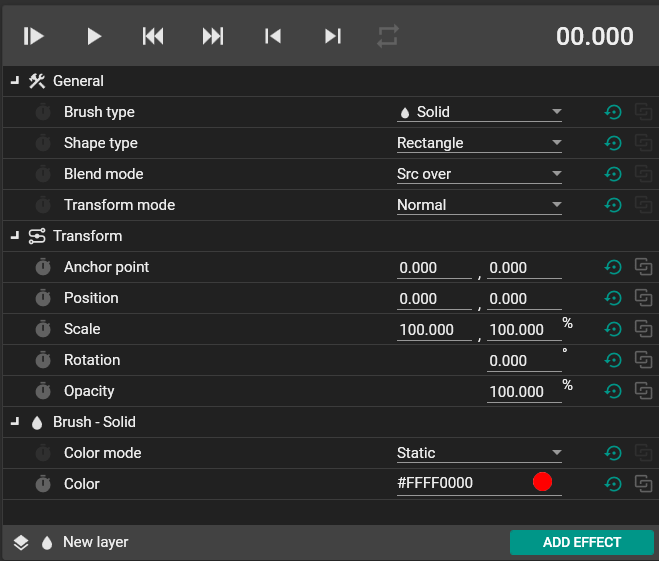
Effects are modifiers than can be applied to any layer. You can add them by clicking the Add Effect button in the bottom right of the Layer Properties section (shown below).

¶ Advanced layer usage
Layers can be animated using the timeline, you can add conditions to them and you can create data bindings to tie their properties to specific data.